You’re out in the field, the light is perfect, and you snap the shot—only to notice later that there’s a big, smudgy fingerprint dead centre on your photo. Sound familiar?
Whether you’re a beginner or a seasoned pro, knowing how to clean your camera lens properly is essential to capturing crisp, clean images. But here’s the thing: cleaning it wrong can do more harm than good.
In this article, we’ll walk through the safe, effective, and photographer-approved way to clean your camera lens—without scratches, streaks, or stress.
Why Cleaning Your Lens Matters More Than You Think
Even the best camera can’t save a photo if your lens is:
- Smudged with fingerprints
- Dusty from travel
- Fogged up after moving indoors
What You’ll Need (And What to Avoid)
✅ Safe Tools for Lens Cleaning:
- Rocket blower – to remove loose dust
- Soft-bristled lens brush – for gentle sweeping
- Microfiber cloth – non-abrasive and lint-free
- Lens cleaning fluid – alcohol-free, specially made for optics
- Lens cleaning tissues or pre-moistened wipes – optional but useful
Avoid These Mistakes:
- Don’t use your shirt or tissue paper (they can scratch!)
- Don’t apply liquid directly to the lens
- Avoid canned air—it’s too powerful and may spray propellant
Step-by-Step: How to Clean a Camera Lens Properly
Step 1: Start with a Rocket Blower
Hold your lens downward and gently blow off any loose particles like sand or dust. This prevents you from rubbing grit into the glass during cleaning.
Tip: Don’t skip this! Even small particles can scratch if rubbed.
Step 2: Use a Lens Brush (Optional)
If particles remain, gently sweep them away with a soft lens brush. Avoid pressing too hard—let the bristles do the work.
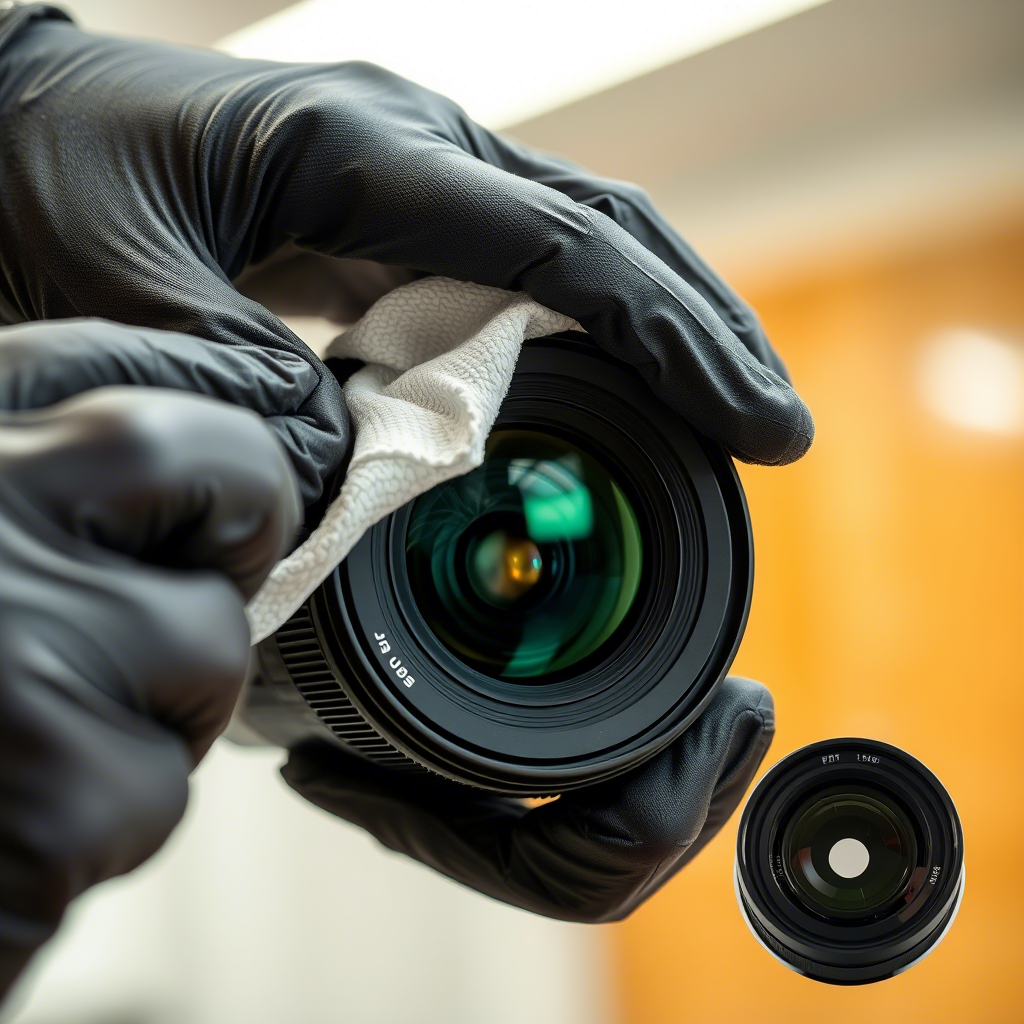
Step 3: Apply Cleaning Fluid to a Microfiber Cloth
Put 1–2 drops of lens cleaner on a clean, dry microfiber cloth. Never pour directly on the lens.
Step 4: Wipe in a Circular Motion
Starting from the centre of the lens, wipe outward in slow, circular motions. Use light pressure.
If needed, use a dry part of the cloth to remove any remaining streaks.
Step 5: Clean the Lens Barrel and Rear Element
Dust and smudges around the edges or on the rear glass can still affect performance. Gently repeat the same cleaning steps if necessary.
How Often Should You Clean Your Lens?
- Daily Use / Outdoors – Light dusting or blower after every shoot
- Visible Smudges / Rain – Deeper clean immediately
- Before Important Shoots – Always clean the night before
For vloggers and video creators, check your lens daily—especially if you use a front-facing setup.
Pro Tips to Keep Your Lens Cleaner, Longer
- Always use a lens hood and lens cap when not shooting
- Store your camera in a padded, dust-proof bag
- Avoid touching the glass—even clean fingers leave oily residue
- Consider a UV filter for an extra layer of protection
Common Cleaning Myths (Busted!)
| Myth | Reality |
| “Tissues are fine for cleaning lenses” | Regular tissues = scratches |
| “I can clean with alcohol or Windex” | Harsh chemicals can damage coatings |
| “Fog it up with your breath” | Moisture = potential mould risk |
Best Products for Safe Lens Cleaning
| Product | Purpose | Est. Price |
| Giottos Rocket Air Blower | Dust removal | ~$10 |
| Zeiss Lens Cleaning Wipes | On-the-go convenience | ~$7 |
| MagicFiber Microfiber Cloths | Gentle wiping | ~$9 (pack) |
| LensPen | Combo brush + cleaning pad | ~$15 |
Final Thoughts: Treat Your Lens Like Your Vision
A clean lens doesn’t just mean better photos—it means respecting your gear and getting the best out of it. It takes just a few minutes, but the impact on your image quality can be massive.