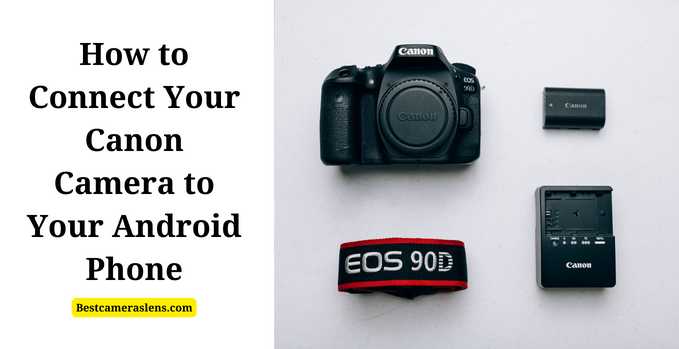
In this digital age, sharing photos and videos with friends and loved ones has never been easier. With the help of mobile devices and high-quality cameras, taking, and sharing visually stunning content has become commonplace.
If you’re a Canon camera user and you want to share your photos and videos over the internet using your Android phone, then you’re in luck.
In this blog post, we will guide you through the process of connecting your Canon Camera to your Android phone.
Step-By-Step Guide How to Connect Your Canon Camera to Your Android Phone
In this section, we will embark on a step-by-step journey to establish a connection between your Canon camera and your Android phone. This effortless process will allow you to seamlessly transfer photos and videos, making it easier to share your captured moments with the world. Whether you’re a professional photographer or a casual shutterbug, this guide will simplify the process for you. Let’s delve into the steps to get started.
Step 1: Turn on the Camera Wi-Fi
The first thing to do is to turn on the camera Wi-Fi. You can quickly find this option on your camera settings. Navigate to the settings menu and select Wi-Fi. From there, you can turn the option “On.” Once the camera Wi-Fi is on, it will display a Wi-Fi network name and password on the camera screen.
Step 2: Download a Canon Camera App
To connect the camera to your Android phone, you need to download the Canon Camera App. This app is available for free on the Google Play Store. Using this app, you can connect to your camera via Wi-Fi, perform remote shooting, and transfer photos and videos from your camera to your phone.
Step 3: Connect the Camera to Your Android Phone
Once the Canon Camera App is installed on your phone, turn on the Wi-Fi connection on your phone and search for available Wi-Fi networks. Look for the network name displayed on your camera and connect to it. You’ll need to enter the password displayed on the camera screen to connect.
Step 4: Start the Canon Camera App
After successfully connecting your camera to your phone, launch the Canon Camera App on your Android device. If everything is set up correctly, the app should automatically detect your camera.
Step 5: Start Transferring Photos and Videos
Now that you have successfully connected your camera to your Android phone, you can start transferring your photos and videos. From the Canon Camera App, you can easily transfer photos and videos directly from your camera to your phone’s storage.
Conclusion
Connecting your Canon camera to your Android phone is an easy process that can be quickly done with just a few steps. When you follow the steps outlined in this blog post, you’ll be able to wirelessly transfer photos and videos from your Canon camera to your Android device. So, go ahead and try it out and share your experiences with us.
